

Mastering 3-Point Lighting for Interviews: 2026 Guide
The most expensive 8K cinema camera in the world cannot save an interview if your lighting fails to create depth and dimension. You've likely experienced the frustration of flat or "muddy" footage where the subject seems to melt into the background, or perhaps you've struggled with inconsistent color temperatures that ruin your skin tones. Mastering a professional 3 point lighting setup for interviews is the definitive way to solve these issues, transforming a basic talking head into a high-end, three-dimensional production.
We understand that achieving a cinematic look requires more than just placing lights; it demands technical precision and an understanding of light ratios. This 2026 guide provides a comprehensive roadmap to elevating your work through industry-standard techniques. We'll explore the nuances of key, fill, and backlighting, while highlighting the latest high-CRI LED and COB fixtures from brands like ARRI. By the end of this article, you'll have the expertise to select the right gear and configure a setup that delivers consistent, broadcast-quality results every time.
Key Takeaways
- Master the structural foundation of a 3 point lighting setup for interviews by applying the 45-45 rule and precise lighting ratios to create three-dimensional depth.
- Understand the critical importance of selecting equipment with high CRI (95+) and TLCI ratings to ensure broadcast-standard color accuracy and natural skin tone reproduction.
- Learn to differentiate between LED panels and high-output COB point source lights to choose the most effective tool for your specific interview environment.
- Explore advanced techniques such as negative fill and the addition of a "fourth light" to elevate your productions from basic visibility to cinematic storytelling.
- Implement a professional step-by-step workflow for calibrating light intensity and color temperature to match the technical requirements of high-end camera sensors.
The Fundamentals of 3 Point Lighting in Professional Interview Environments
A 3 point lighting setup for interviews serves as the structural foundation for nearly every professional broadcast and corporate production. It isn't just about visibility; it's about shaping the viewer's perception of the subject. Properly controlled light creates a sense of authority and approachability that flat lighting simply cannot achieve. By 2026, the industry has fully moved away from the heat and power demands of traditional tungsten. We now rely on high-output LED and COB fixtures that offer total technical control over color temperature and intensity without compromising on output quality.
This framework mimics the behavior of natural light while allowing for precise repeatability in a studio environment. It provides a reliable baseline for cinematographers to build upon, ensuring that every frame meets high-tier production standards. By mastering this triangle, you gain the ability to direct the audience's eye and emphasize the most important element of the scene: the speaker's message.
Defining the Core Triangle: Key, Fill, and Back Light
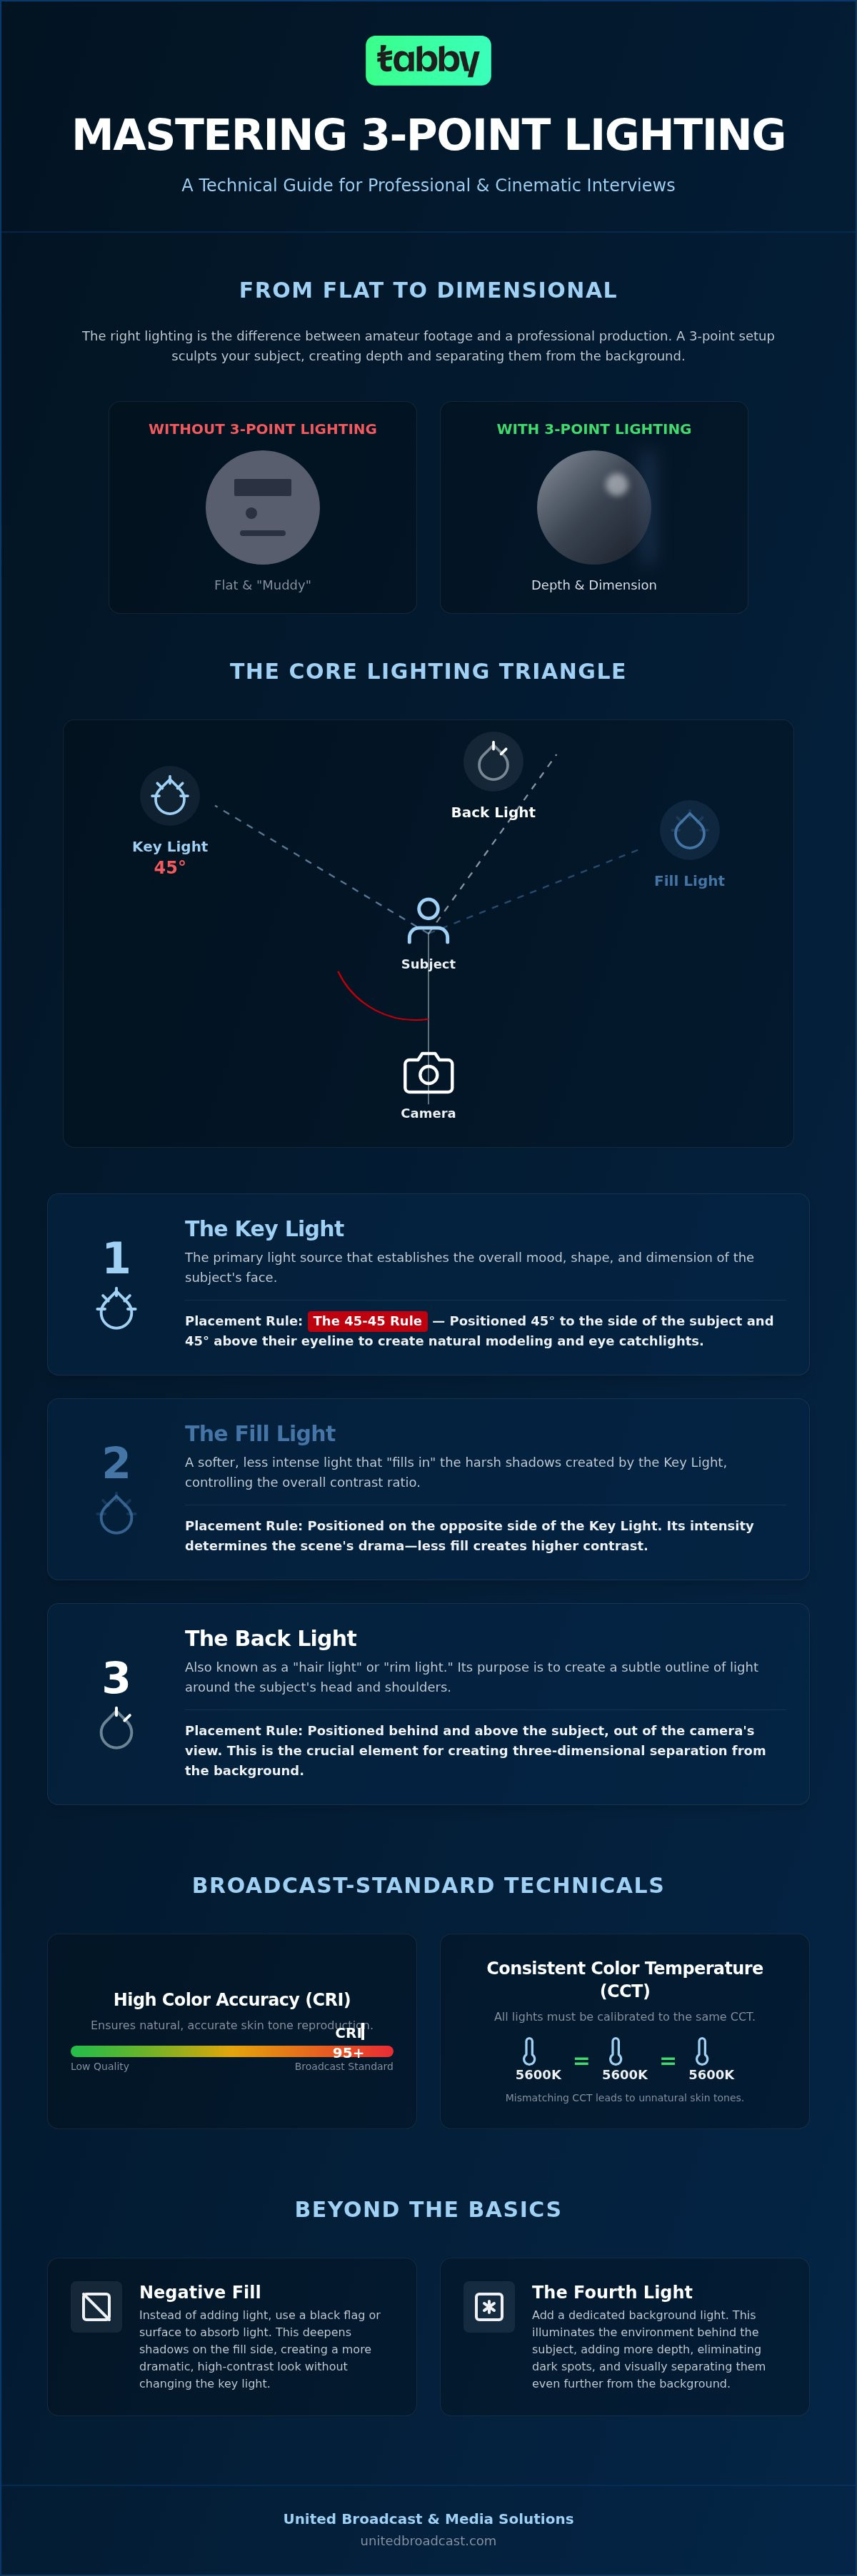
The key light acts as your primary source, typically positioned at a 45-degree angle from the subject and 45 degrees above eye level. This placement creates natural modeling on the face and a characteristic "catchlight" in the eyes. The fill light then manages the shadows on the opposite side, reducing the lighting ratio to a level that retains detail without flattening the image entirely. Finally, the backlight, often called a hair light, provides the critical separation between the subject and the background. This creates the three-dimensional depth required for modern ARRI lighting workflows in professional sets.
Why 3 Point Lighting Remains the Industry Standard for Broadcast
Reliability and speed drive the continued dominance of this setup. In professional studios across the UAE, production schedules are tight. A 3 point lighting setup for interviews allows crews to establish a high-quality look quickly and maintain consistency across multi-camera configurations.
- Consistency: It ensures that subjects look identical across different camera angles and lenses.
- Efficiency: The workflow is predictable, making it easier for assistants and gaffers to execute under pressure.
- Technical Precision: It helps maintain broadcast-legal exposure levels and contrast ranges, which is essential for post-production grading.
Using high-CRI professional lighting equipment ensures that color reproduction remains accurate across the entire spectrum. This technical foundation prevents the "muddy" looks associated with lower-end fixtures and provides the clean, sharp aesthetic expected by modern audiences.
Breaking Down the Components: Key, Fill, and Back Light Roles
Every component in a 3 point lighting setup for interviews plays a specific role in the physics of the scene. Achieving a broadcast-standard look requires more than just pointing fixtures at a subject. You must maintain consistent Correlated Color Temperature (CCT) across all three sources. If your key light is calibrated to 5600K but your fill fluctuates at 5400K, skin tones will appear unnatural and will be nearly impossible to correct perfectly in post-production. Precision in placement and color consistency is what separates a professional production from a hobbyist effort.
The Key Light: Establishing the Narrative and Mood
The 45-45 rule is the standard starting point. You place the light 45 degrees to the side of the subject and 45 degrees above their eye line. This creates natural modeling and a clear catchlight in the eyes. However, professional gaffers know when to break this rule. For subjects with deep-set eyes or those wearing glasses, you should lower the light slightly. This prevents heavy brow shadows and minimizes distracting lens reflections. Using professional lighting equipment with a CRI of 95 or higher ensures that these shadows remain clean. You can choose between Rembrandt lighting for a dramatic, cinematic feel or Broad lighting for a more accessible, corporate aesthetic.
The Fill Light: Controlling Contrast and Shadow Detail
The fill light's purpose is to lift the shadows created by the key without eliminating them entirely. You're looking to control the lighting ratio to maintain depth. A common 2:1 or 3:1 ratio provides a professional balance of dimension and detail. You can achieve this through an active fill, using a secondary LED panel at a lower intensity, or a passive fill using a high-quality reflector. Softboxes are essential here. They enlarge the effective size of the light source, creating a gentle wrap-around effect that is flattering for all skin types. If the fill is too bright, the image loses its three-dimensional quality and becomes flat and unengaging.
The Back Light: Creating Depth and Subject Separation
Positioned behind the subject and typically opposite the key light, the backlight defines the shoulders and hair. This creates the critical separation from the background, which is vital when filming in smaller spaces or against dark sets. The goal is a subtle rim of light that adds "pop" to the frame. If the intensity is too high, you'll create an artificial "halo" effect that looks dated. Use barn doors or snoots to control the beam and keep light from spilling into the camera lens. This precision ensures the subject remains the focal point without any distracting lens flare. If you need help tailoring a kit for your specific studio needs, our team offers expert technical support and integration services.
Selecting Professional Lighting Equipment for High-End Interviews
Gear selection is the bridge between a theoretical plan and a broadcast-ready reality. While consumer-grade LED sticks might suffice for social media, a professional 3 point lighting setup for interviews requires fixtures that offer exceptional color stability and high output. In 2026, the industry standard for skin tone reproduction remains a Color Rendering Index (CRI) of 95 or higher, alongside high Television Lighting Consistency Index (TLCI) ratings. Without these benchmarks, you'll spend hours in post-production attempting to fix unnatural complexions that could've been avoided at the source.
LED Panel Technology vs. Point Source COB Lights
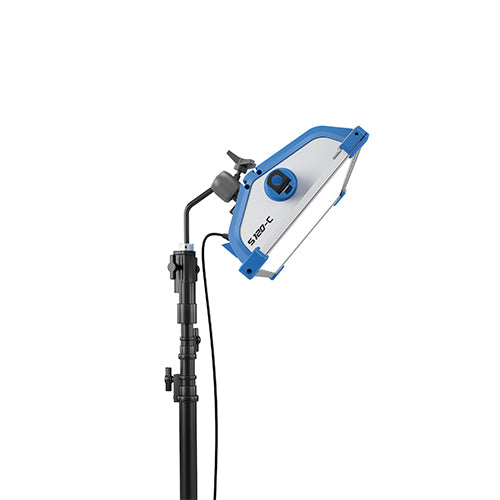
Choosing between LED panels and Point Source COB (Chip on Board) lights depends on your environment and the desired look. Soft LED panels are excellent for quick setups where you need immediate, diffused light. They're often thin, lightweight, and easy to position in tight office spaces. Conversely, COB lights act as a powerful point source, mimicking the behavior of a traditional Fresnel. These fixtures offer superior versatility. While panels are great for a broad wash, COB lights from premium brands like ARRI Lighting provide the punch needed to create dramatic contrast or to compete with ambient daylight.
Essential Light Modifiers: Softboxes, Diffusers, and Grids
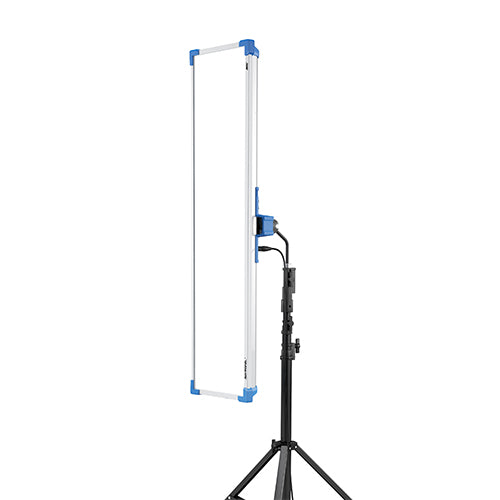
The fixture is only half the equation; the modifier defines the character of the light. Using the ARRI Omnibar production kit allows gaffers to shape light with surgical precision. Softboxes are non-negotiable for interview keys, as they enlarge the source to wrap gently around the subject's features. However, large soft sources can easily spill onto your background, ruining the separation you've worked to create. This is where honeycombs and grids become essential. They restrict the beam angle, ensuring the light stays on the subject while the background remains dark.
Selecting the right diffusion density is equally important. A thicker diffusion might be necessary for certain subjects to soften skin textures, while a lighter silk can preserve the "pop" of a high-contrast cinematic look. Finally, consider your power needs. While AC power is the standard for studio reliability, modern V-mount battery solutions provide the field flexibility required for high-end location interviews without sacrificing light intensity. This technical balance ensures your 3 point lighting setup for interviews remains consistent, regardless of the shooting environment.
Beyond the Basics: Advanced Modifications for Cinematic Interviews
Moving beyond a standard 3 point lighting setup for interviews allows you to manipulate emotion through shadow. While the core triangle provides essential visibility, advanced modifications provide character. One of the most effective tools for adding dramatic tension is "Negative Fill." By placing a black flag or floppy on the shadow side of the subject, you prevent ambient light from bouncing back onto the face. This technique deepens shadows and increases perceived contrast, a method frequently used in high-end documentary and narrative interview productions across the UAE.
Managing Lighting Ratios for Different Visual Styles
Lighting ratios define the relationship between the intensity of your key light and your fill light. For corporate environments, a 2:1 ratio is the industry standard. It feels open and trustworthy. In contrast, dramatic cinema often employs ratios of 4:1 or higher. You can monitor these ratios precisely using in-camera waveforms or a dedicated light meter. High-CRI fixtures from ARRI lighting systems ensure that even at high contrast ratios, skin tones remain accurate and do not shift into unnatural color territories. Maintaining this consistency is vital for efficient color grading in post-production, especially when working with 10-bit or RAW video formats.
Incorporating Background Lighting and Practical Lights
The "Fourth Light" is what separates a basic studio shoot from a layered, professional environment. Adding background and practical lights creates environmental depth. Instead of a flat wall, you can use "pools of light" to highlight textures or architectural features behind the subject. Practical lights, such as desk lamps or computer monitors, ground the interview in a physical space. These sources should be dimmable and color-calibrated to match your primary setup. It's critical that these background elements don't compete with the subject’s key light. They should support the frame, not distract from the speaker.
Balancing daylight and tungsten sources is another 2026 standard for cinematic quality. Many modern professional lighting equipment options now allow for full RGBWW control. This lets you match the warm glow of a practical lamp with the cool spill of a window, ensuring a cohesive look that feels intentional. By controlling these small details, you elevate the production value and ensure the subject remains the unmistakable focal point of the scene.
Executing the Setup: A Professional Workflow for UAE Studios
Executing a 3 point lighting setup for interviews in a professional environment requires a methodical, sequential workflow. You shouldn't simply activate every fixture at once. A disciplined approach allows you to see how each source interacts with the subject and the environment, ensuring that you maintain total control over the image's contrast and color balance. This process is essential for delivering repeatable, broadcast-quality results that meet international production standards.
Step-by-Step Implementation and Calibration
Start by isolating the key light. This establishes your exposure baseline and defines the primary modeling of the face. Use your camera's waveform monitor to ensure that skin tones sit within the 60 to 70 IRE range for standard dynamic range (SDR) or higher for HDR workflows. Once the key is set, introduce the fill light to manage the shadows. Adjust the intensity until you reach your desired ratio, then add the backlight to provide subject separation. Matching your fixtures to the specific color science of professional video cameras is essential. Different sensors handle highlight roll-off and color reproduction uniquely, so a final fine-tuning with the subject in place and the camera running is a non-negotiable step.
Troubleshooting Common Interview Lighting Challenges
Reflections in eyeglasses remain a common hurdle in a 3 point lighting setup for interviews. To solve this, move your key and fill lights further to the side or raise their height. This utilizes the "angle of incidence equals the angle of reflection" principle to bounce light away from the camera lens. If you're dealing with mixed color temperatures from office windows or overhead fluorescents, use 1/2 or Full CTO/CTB gels, or switch your fixtures to the appropriate CCT mode. Ensuring equipment uptime is equally critical. In the UAE, environmental factors like fine dust and high ambient temperatures can degrade equipment performance over time. Regular professional camera service and lighting maintenance are vital to prevent fan failure or color shifting in your LEDs.
Safety Protocols and Environmental Management
A professional studio is an active environment where safety is paramount. Proper cable management using gaffer tape or cable ramps prevents tripping hazards and protects your signal integrity. Always ensure that light stands are correctly weighted. Use sandbags on the tallest leg of the stand to prevent tipping, especially when using heavy modifiers like large softboxes or when shooting on location where wind might be a factor. Managing the heat output of your fixtures, even with modern LED technology, ensures the comfort of your subject and the longevity of your gear's internal electronics. By following these technical and safety standards, you create a stable environment for high-end production.
Future-Proofing Your Interview Production Standards
Achieving cinematic depth requires a disciplined balance of high-end technical gear and creative placement. By mastering the 3 point lighting setup for interviews, you transform standard footage into professional, three-dimensional storytelling that captures your subject's authority. We've explored the necessity of high-CRI fixtures, the importance of precise lighting ratios, and the vital role of environmental maintenance for equipment longevity in the UAE.
As an authorized distributor for ARRI and Sony, UBMS provides the industry-leading tools and expert system integration services required to execute these setups at a global standard. Our dedicated technical service center ensures your equipment remains calibrated for peak performance throughout 2026 and beyond. Precision in light control is more than an aesthetic choice; it's a commitment to broadcast quality that establishes immediate credibility with your audience.
With the right equipment and a methodical workflow, your productions will consistently stand out in a competitive media landscape. We're ready to help you achieve your creative vision with technical excellence and reliable support.
Frequently Asked Questions
What is the ideal lighting ratio for a professional corporate interview?
The ideal ratio for a professional corporate interview is typically 2:1. This ratio ensures that the fill side is exactly half the intensity of the key side, creating a look that feels open and trustworthy. While dramatic productions might use 4:1 or higher to increase tension, corporate clients usually prefer a bright, accessible aesthetic. You can measure this precisely using a light meter or by checking the luma waveforms on your camera monitor.
How do I avoid reflections in eyeglasses when using a 3 point lighting setup?
To avoid reflections in eyeglasses when using a 3 point lighting setup for interviews, you should increase the angle of your lights relative to the camera. By moving the key and fill lights further to the side or raising their height on the stands, the reflection bounces away from the lens. This utilizes the physics of light where the angle of incidence equals the angle of reflection, ensuring the subject's eyes remain clear.
Can I achieve a 3 point lighting setup using only natural light and reflectors?
You can achieve a basic 3-point configuration using natural light, though it lacks the technical repeatability of professional fixtures. A large window serves as your key light, while a white or silver reflector acts as your fill. A secondary window or a strategically placed bounce can provide the backlight. However, for broadcast standards, professional LED panels are preferred to maintain consistent color temperatures as the sun moves throughout the production day.
What is the difference between CRI and TLCI, and why does it matter for interviews?
CRI (Color Rendering Index) measures how accurately a light source reveals colors to the human eye, while TLCI (Television Lighting Consistency Index) measures accuracy for camera sensors. For professional interviews, TLCI is the more critical metric because it predicts how much post-production correction you'll need. Always select equipment with a TLCI of 95 or higher to ensure natural skin tones and consistent color across different camera brands and sensors.
How far away should the key light be from the interview subject?
The distance of your key light depends on the intensity of your fixture and the size of your modifier. Generally, placing the light between 3 and 6 feet from the subject provides a good balance of softness and output. Remember that the closer the light source is to the subject, the softer the shadows will appear. This is because the relative size of the light source increases as it moves closer to the person being filmed.
Do I need a separate light for the background in a 3 point setup?
While the traditional 3 point lighting setup for interviews focuses on the subject, a separate background light is highly recommended for high-end productions. This "fourth light" allows you to highlight textures or add pools of light to the set, preventing the background from looking like a flat, dark void. It adds environmental depth and grounds the subject in a professional space without competing with the primary key light intensity.
How do I match the color temperature of different light brands in one setup?
Matching color temperatures across different brands requires precise Kelvin calibration. Most modern LED fixtures allow you to manually dial in a specific Kelvin value, such as 5600K for daylight. If a slight green or magenta tint remains between brands, you can use specialized correction gels or the tint adjustment settings found on premium fixtures. UBMS provides system integration services to help studios calibrate diverse lighting rigs for seamless color consistency.
What are the best LED lights for a portable interview lighting kit in 2026?
In 2026, the best portable kits feature high-output COB lights and lightweight bi-color LED panels. Brands like ARRI offer versatile solutions that provide the punch needed for daylight environments while remaining compact enough for field work. When selecting a kit, prioritize fixtures that offer V-mount battery compatibility and high-CRI accuracy. This ensures you have the flexibility to shoot in any location without sacrificing the quality of your professional interview production.


