

3-Point Lighting Setup for Interviews: The Professional Broadcast Guide (2026)
Why does a high-end cinema camera sometimes produce a flat, uninspired image that looks more like a security feed than a professional broadcast? The difference isn't usually the sensor or the lens; it is the deliberate control of shadows and highlights. Mastering a professional 3 point lighting setup for interviews is the foundational skill that separates amateur content from cinematic storytelling. You already know that poor subject-to-background separation and inconsistent skin tones can undermine even the most insightful interview. It's a common challenge for specialists who need to maintain global broadcast standards in fast-paced production environments.
This guide provides a technical framework to help you master the industry-standard lighting configuration. You'll learn the specific roles of the key, fill, and back lights, along with how to select professional modifiers to control your output. We will also explore 2026 technical benchmarks, including the shift from CRI to the ANSI/IES TM-30-24 standard for superior color fidelity. By the end of this article, you'll have the expertise to transform any space into a high-tier broadcast environment using the latest digital lighting tools.
Key Takeaways
- Understand why the 3 point lighting setup for interviews remains the industry-standard framework for creating cinematic depth and establishing subject authority.
- Learn the precise positioning of key, fill, and backlights to eliminate distracting shadows and achieve professional subject-to-background separation.
- Master the selection of modifiers to balance hard and soft light, ensuring flattering skin textures and controlled light spill in any environment.
- Stay ahead of technical benchmarks by transitioning from basic CRI to the advanced ANSI/IES TM-30-24 standards for superior color fidelity.
- Evaluate the performance of COB LEDs versus panel lights to build a versatile and portable lighting kit for high-tier broadcast productions.
What is 3-Point Lighting and Why is it the Broadcast Standard?
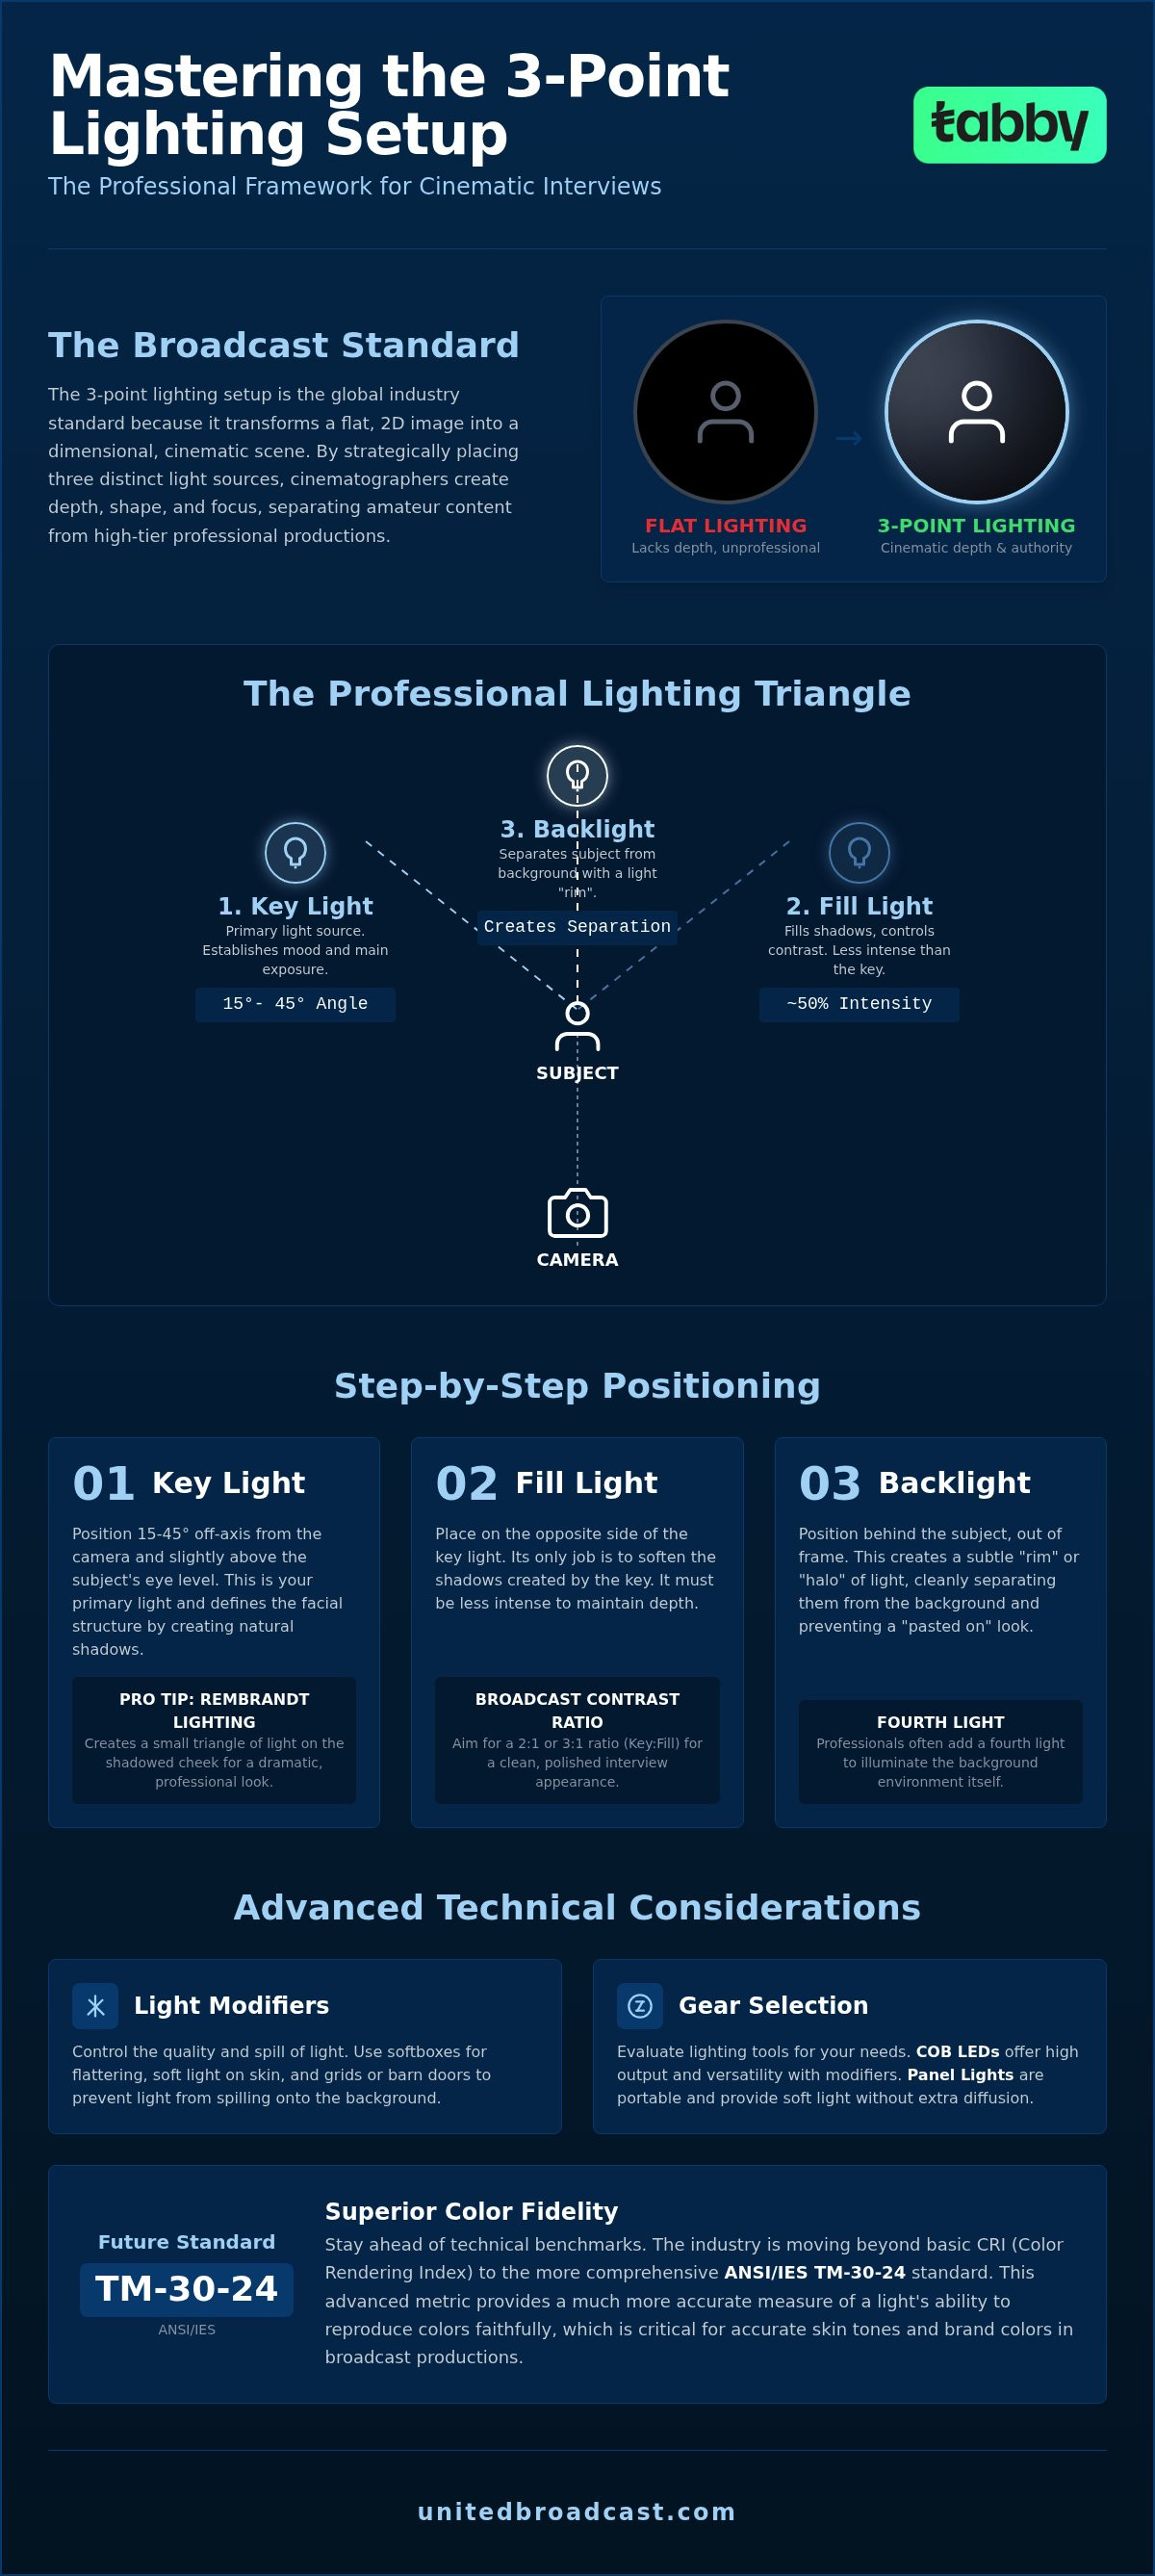
The 3 point lighting setup for interviews isn't just a suggestion; it's the technical foundation for professional storytelling. By manipulating light from three distinct angles, cinematographers transform a flat, digital image into a dimensional scene. This technique is the global standard because it mimics how the human eye perceives depth in the real world. In the UAE's competitive broadcast landscape, adhering to these principles ensures that local productions meet international quality benchmarks. It's the difference between a video that looks like a casual recording and one that feels like a high-tier production.
Lighting directly influences how an audience perceives the subject's authority. High-contrast, "moody" lighting might suit a dramatic film, but broadcast interviews require clarity to build viewer trust. Sharp, uncontrolled shadows can make a subject appear tired or untrustworthy. Conversely, a well-executed 3 point lighting setup for interviews provides a clean, open look that emphasizes transparency. The shift from traditional tungsten fixtures to modern professional lighting equipment, particularly high-output LEDs, has made achieving this look more efficient. LEDs offer precise color temperature control without the immense heat of older lamps, allowing for longer, more comfortable interview sessions.
The Core Philosophy: Creating Depth in a 2D Medium
A digital sensor captures images in two dimensions. Without shadows and highlights, the subject's face appears "pasted" onto the background. Professional lighting uses the concept of "modeling" to define the physical structure of the face. By placing light at specific angles, we create subtle gradients that highlight the cheekbones and jawline. Flat lighting, often caused by on-camera flashes or overhead office lights, is the most common sign of amateur production. It eliminates the natural contours that give a subject a life-like presence and professional weight.
Key Components of the Professional Lighting Triangle
The framework relies on three primary fixtures working in harmony to control contrast and focus:
- Key Light: The primary source that establishes the core exposure and determines the overall mood of the frame.
- Fill Light: Placed opposite the key, its job is to fill in the shadows and control the contrast ratio.
- Backlight: Positioned behind the subject, it creates a "rim" of light to separate them from the background.
While the triangle is the core, many professionals now incorporate a "fourth light" specifically for the background. This ensures the environment has its own texture, preventing the subject from sinking into a dark void. Managing the intensity between these lights determines the contrast ratio, which is usually kept around 2:1 or 3:1 for standard corporate and news interviews to maintain a polished, broadcast-ready appearance.
Step-by-Step: Positioning the Key, Fill, and Backlight
Executing a professional 3 point lighting setup for interviews requires a methodical workflow. You shouldn't turn all your lights on at once; instead, start with a dark room and add each source individually. This allows you to see exactly how each fixture contributes to the frame's depth and texture. By building the scene layer by layer, you avoid the common mistake of "competing shadows" that often plagues amateur productions.
The Key Light: Setting the Exposure and Mood
The key light is your primary illumination source. Position it between 15 and 45 degrees off-axis from the camera lens. If you place it too close to the camera, the lighting becomes flat and unengaging. If it's too far to the side, you'll create a "split lighting" effect that might feel too dramatic for a standard broadcast. Rembrandt lighting occurs when the key light is positioned to create a small, inverted triangle of light on the subject's shadowed cheek. Ensure the height is slightly above the subject's eye level to cast natural shadows under the nose and jaw, which helps define the facial structure.
The Fill Light: Managing Contrast Ratios
The fill light sits on the opposite side of the camera from the key light. Its sole purpose is to "fill" in the deep shadows created by the key, making them less harsh. To maintain a professional look, the fill should always be less intense than the key. You can achieve this using an "active fill," which is a second, lower-intensity light, or a "passive fill" using a white or silver reflector. For most corporate interviews, a contrast ratio of 2:1 or 3:1 is ideal. This provides enough shadow to maintain depth without making the subject look overly mysterious or somber.
The Backlight (Hair Light): Achieving Separation
Position the backlight behind the subject, usually on the same side as the key light but high enough to stay out of the frame. It should angle down to strike the back of the subject's head and shoulders. This creates a thin "rim" of light that separates the subject from the background. This separation is critical for 4K and 8K broadcast clarity, as it prevents the subject from appearing "baked into" the environment. Use barn doors or grids to prevent this light from hitting the camera lens, which would cause unwanted flare and reduce image contrast.
Once your three lights are in place, fine-tune the height and tilt to ensure clear catchlights in the subject's eyes. These small reflections in the pupils make the interviewee look vibrant and present. If you're struggling to balance these angles in a tight space, our team can provide technical guidance for your specific studio dimensions to ensure your setup meets broadcast standards.
Advanced Modifiers: Controlling Light Quality and Spill
Positioning your fixtures correctly is only the first step. To achieve a truly cinematic 3 point lighting setup for interviews, you must master the physics of light quality. The primary distinction lies between hard (specular) and soft (diffuse) light. Hard light comes from a source that is small relative to the subject, resulting in sharp, defined shadow edges. While this can work for high-drama character pieces, it's generally avoided in professional broadcast interviews because it emphasizes skin textures and imperfections. Mastering the 3 point lighting setup for interviews requires understanding how to soften these sources to create a professional look.
Soft light is created by increasing the effective size of the light source relative to the subject. When you pass a beam through a modifier, the modifier itself becomes the new, larger source of light. This "wrap-around" effect creates gradual transitions between highlights and shadows, which is far more flattering for on-camera talent and helps maintain a high-end broadcast aesthetic.
Diffusion and Softboxes for Natural Skin Tones
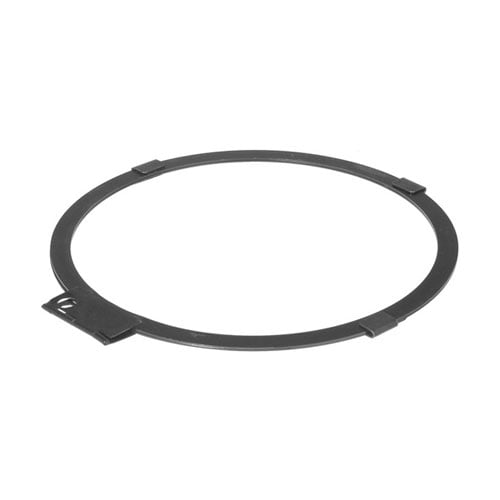
Softboxes are the industry standard for the key light in a professional interview. They provide a controlled, directional soft light that mimics the quality of a large window. For even higher quality, broadcast environments often utilize double-diffusion, where light passes through an internal baffle before hitting the outer silk. This eliminates "hot spots" and ensures a perfectly uniform output across the subject's face. If you're building a professional kit, selecting high-tier Professional Lighting Equipment with interchangeable speed rings allows you to adapt your modifiers to various fixture brands as your studio evolves.
Grids, Barn Doors, and Flags: The Art of Subtraction
Controlling where light doesn't go is just as important as where it does. Without proper grip equipment, light from your softbox will spill onto the background, destroying the depth you worked to create. Egg-crate grids are essential tools that snap onto the front of a softbox to narrow the beam angle without hardening the quality of the light. This keeps the illumination focused strictly on the interviewee while keeping the background dark and textured.
Barn doors and flags serve as the "sculptors" of your scene. Barn doors are primarily used on backlights to prevent stray rays from entering the camera lens and causing flare. Flags are used for subtractive lighting. By placing a black flag on the shadowed side of the subject, you create "negative fill." This absorbs reflected light and deepens shadows, adding a level of sophisticated contrast that separates standard corporate video from high-end broadcast journalism.
Color Science: Managing Temperature and High CRI Standards
Executing a 3 point lighting setup for interviews requires more than just correct fixture placement. You must also master color science to ensure your subject looks natural and the image remains professional. The most critical technical factor is color temperature, measured in Kelvin (K). Standard broadcast environments typically utilize two primary benchmarks: Tungsten (3200K), which provides a warm, indoor glow, and Daylight (5600K), which mimics natural sunlight. If you don't match your lights to the ambient environment, you'll face "mixed lighting" issues that are nearly impossible to fix in post-production.
Modern broadcast standards have evolved beyond the traditional Color Rendering Index (CRI). While a CRI of 90+ was once the benchmark, the industry is transitioning to the more rigorous ANSI/IES TM-30-24 standard. This newer metric evaluates light against 99 color evaluation samples rather than the limited eight used for CRI. For high-tier productions, aim for a Fidelity Index (Rf) of 85+ and a Gamut Index (Rg) of 100. High-quality fixtures prevent the dreaded green or magenta tint often found in budget LEDs, ensuring that skin tones remain vibrant and accurate without requiring heavy digital correction.
Bi-Color vs. RGBWW LEDs in Field Production
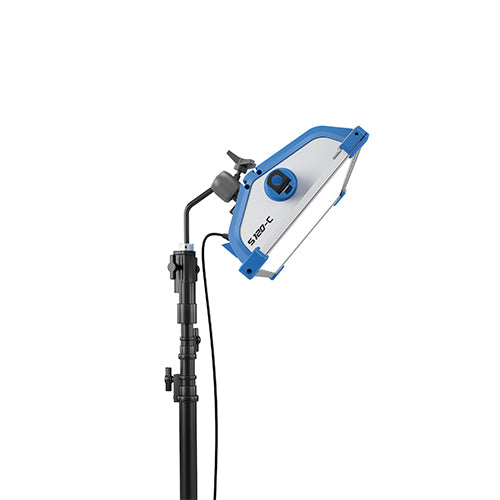
Field production in the UAE often requires rapid adaptation to changing environments. Bi-color LED fixtures allow you to dial in specific Kelvin ratings between 2700K and 6500K, making them indispensable for fast-paced national shoots. For more creative applications, RGBWW LEDs offer full-spectrum control. These allow you to add subtle branding colors to the background or match specific practical lights on set. Integrating professional ARRI Lighting Solutions into your workflow provides the precise color control and reliability needed for national broadcast standards.
White Balance and Skin Tone Fidelity
Your camera's white balance must perfectly sync with your lighting kit. When shooting near windows, you'll need to set your 3 point lighting setup for interviews to 5600K to match the incoming daylight. If you're in a controlled studio with no external light, 3200K can provide a more intimate, classic interview feel. Skin tone fidelity is the ultimate test of your lighting quality. A 95+ CRI rating ensures accurate skin tones by providing a full spectrum of light that captures the subtle red and yellow undertones of human skin. This accuracy is vital for maintaining the Television Lighting Consistency Index (TLCI) scores required by major broadcast networks.
Selecting Professional Gear for UAE National Shoots
Choosing the right hardware for a 3 point lighting setup for interviews depends largely on your production environment. In modern broadcast workflows, the primary choice is between Chip on Board (COB) LEDs and traditional panel lights. COB LEDs, which feature a high-density cluster of light-emitting diodes on a single chip, act as a point source. This makes them ideal for use with modifiers like Fresnel lenses or softboxes, as they produce a single, clean shadow. In contrast, LED panels provide a native soft wash that is excellent for quick setups in tight spaces where you don't have room for large modifiers.
National shoots often take place in remote locations where mains power isn't guaranteed. Investing in portable, battery-powered kits is essential for maintaining consistency. Professional fixtures that support V-mount or Gold-mount batteries allow you to maintain a high-tier 3 point lighting setup for interviews without being tethered to a wall outlet. Safety is another critical factor; always utilize heavy-duty C-stands with sandbags to secure your key and backlights. In a professional environment, stability isn't just about protecting your gear; it's about ensuring the safety of the talent and the crew.
Building a Professional 3-Point Kit
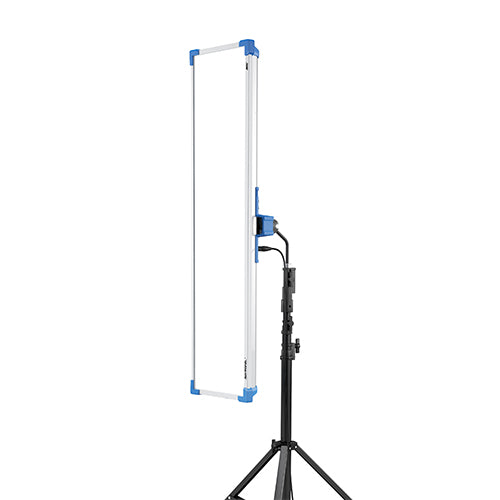
A comprehensive kit should include three high-output light heads, robust stands, and a variety of modifiers like grids and softboxes. For professionals seeking a long-term solution, ARRI Omnibar Production Kits offer the build quality and color precision required for national broadcast standards. These kits are designed for rapid deployment and durability, ensuring they withstand the rigors of frequent field use. To understand how these tools fit into the wider regional landscape, you can consult our Professional Lighting Equipment: The 2026 Industry Guide.
Technical Support and System Integration
Hardware selection is only half the battle; ensuring your gear integrates with your camera workflow is vital. High-end lighting must be calibrated to work seamlessly with Professional Video Cameras to maximize the sensor's dynamic range. At United Broadcast & Media Solutions (UBMS), we support national media entities by providing expert system integration and technical calibration. This ensures that your lighting, cameras, and post-production pipelines are perfectly aligned, delivering the skin tone fidelity and image depth that modern audiences expect from a professional broadcast.
Advancing Your Broadcast Production Quality
Mastering technical nuances distinguishes a standard video from a high-tier broadcast production. Implementing a precise 3 point lighting setup for interviews ensures your subjects possess the depth and clarity required for modern 4K and 8K delivery. We've explored how strategic modifiers and strict adherence to ANSI/IES TM-30-24 color standards transform visual impact. It's about precision. Relying on verified color fidelity and controlled contrast ratios allows you to build viewer trust through professional aesthetics.
As an authorized ARRI and Sony distributor, United Broadcast & Media Solutions (UBMS) provides the high-end hardware and expert technical support necessary to maintain these global benchmarks. Our dedicated service center and team of UAE-wide system integration experts help you calibrate your studio for maximum performance. Whether you're upgrading a national newsroom or refining a corporate field kit, we offer the technical infrastructure to support your long-term success.
Achieving cinematic interview visuals is a continuous process of refinement. With the right tools and a methodical approach, your productions will consistently reflect the authority and professionalism your audience expects.
Frequently Asked Questions
What is the most important light in a 3-point lighting setup?
The Key Light is the most critical element because it establishes the primary exposure and determines the overall mood of the shot. It defines the subject's facial structure and creates the essential highlights that catch the viewer's eye. Without a properly positioned key light, the entire 3 point lighting setup for interviews fails to achieve a professional broadcast look. It acts as the technical foundation upon which the fill and backlights are balanced.
Can I do a professional interview with only two lights?
Yes, you can achieve professional results with two lights by using a "Key and Fill" or "Key and Backlight" configuration supplemented by a reflector. Using a high-quality key light and a large white reflector for passive fill is a standard industry practice for minimalist setups. This approach maintains subject depth while reducing gear requirements. However, adding a third dedicated light remains the gold standard for achieving maximum separation and broadcast-quality polish.
How do I avoid reflections in eyeglasses during an interview?
To eliminate reflections in eyeglasses, raise the height of your light stands and move the fixtures further off-axis from the camera. Positioning the lights higher ensures that the angle of incidence causes the reflection to bounce downward, away from the camera lens. You can also ask the subject to slightly tilt their glasses or lower their chin. Using larger, softer modifiers helps diffuse the reflection, making it less distracting for the audience.
What is the difference between CRI and TLCI for broadcast lighting?
CRI measures how accurately a light source reveals colors to the human eye, while TLCI predicts how a camera sensor will perceive those colors. For broadcast specialists, TLCI is the more critical metric because it accounts for the specific spectral sensitivities of digital sensors. A TLCI score of 90 or higher is essential to ensure that skin tones remain consistent and accurate during post-production color grading and live transmission.
How far should the backlight be from the subject?
The backlight should typically be placed 1.5 to 3 meters behind the subject, depending on the intensity of the fixture and the available studio space. It needs to be far enough to avoid creating a halo effect but close enough to provide a distinct rim of light on the hair and shoulders. Placing it too close can cause lens flare or overexposed highlights, while placing it too far reduces its effectiveness in creating background separation.
Should I use Daylight or Tungsten color temperature for indoor interviews?
Use Daylight (5600K) if there are windows in the room, as this matches the incoming natural light and prevents blue or orange color shifts. If the room is entirely controlled with no external light, Tungsten (3200K) is a classic choice for a warmer, more intimate feel. Modern bi-color LEDs allow you to match the exact temperature of existing practical lights, ensuring a cohesive look for your 3 point lighting setup for interviews.
What are the best modifiers for soft interview lighting?
Large softboxes and octaboxes are the most effective modifiers for creating flattering, soft light for interviews. These tools increase the effective size of the light source, which softens shadows and smooths skin textures. For a more directional soft light, adding an egg-crate grid to your softbox prevents light spill onto the background. Using double-diffusion silks inside the softbox further eliminates hot spots for a perfectly uniform broadcast appearance that meets high-end standards.
How do I prevent shadows on the background in a small room?
To prevent background shadows, increase the distance between your subject and the wall. If space is limited, raise your lights higher so the shadows fall lower on the wall, potentially below the camera's field of view. You can also use a dedicated background light to wash out any remaining shadows. Controlling the beam with barn doors or grids ensures that light from your key source doesn't spill onto the background environment unnecessarily.


