

How to Set Up a Multi-Camera Live Streaming Workflow
Adding cameras won’t make a stream reliable unless the video signals, audio and internet connection work together. Setting up a multi-camera live streaming workflow starts with at least two cameras, enough for many talks, interviews and tutorials. A switcher selects the camera feed sent to the stream, while audio, lighting, an encoder and a reliable connection complete the signal path.
It’s easy to focus on camera angles and overlook practical challenges such as mismatched framing, unclear audio, switching delays or an unreliable connection. Each part of the workflow needs to work with the rest, and the right setup depends on the format, location and equipment available.
This guide covers choosing camera angles, selecting hardware or software switching, routing audio, configuring streaming software and preparing your internet connection. You’ll also learn how to test the complete workflow before going live, identify weak points and address them before they affect the viewer experience.
Key Takeaways
- Plan camera positions around the action: a wide view can provide context and a useful fallback, while closer angles capture detail.
- Choose hardware or software switching based on your computer’s capacity and the number and types of video feeds in the production.
- Keep speech clear by routing microphones through an audio mixer and monitoring the sound before and during the stream.
- For a 1080p stream, plan for at least 10 Mbps upload speed and use a hardwired, dedicated network where possible.
- Rehearse the full signal path before going live to catch camera, audio, switching and connection problems while there’s time to address them.
What’s the Best Video Switcher for Live Streaming?
Choose a switcher based on the number of cameras and other video sources, as well as your computer’s capacity. Then connect each source in a planned order, from capture to stream output.
-
Choose a Live-Streaming Switcher
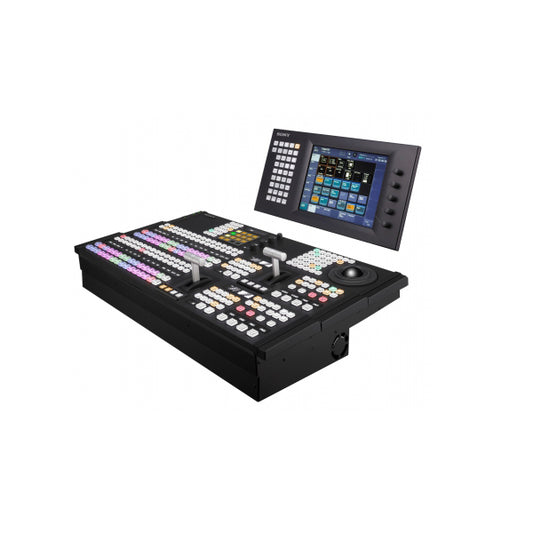
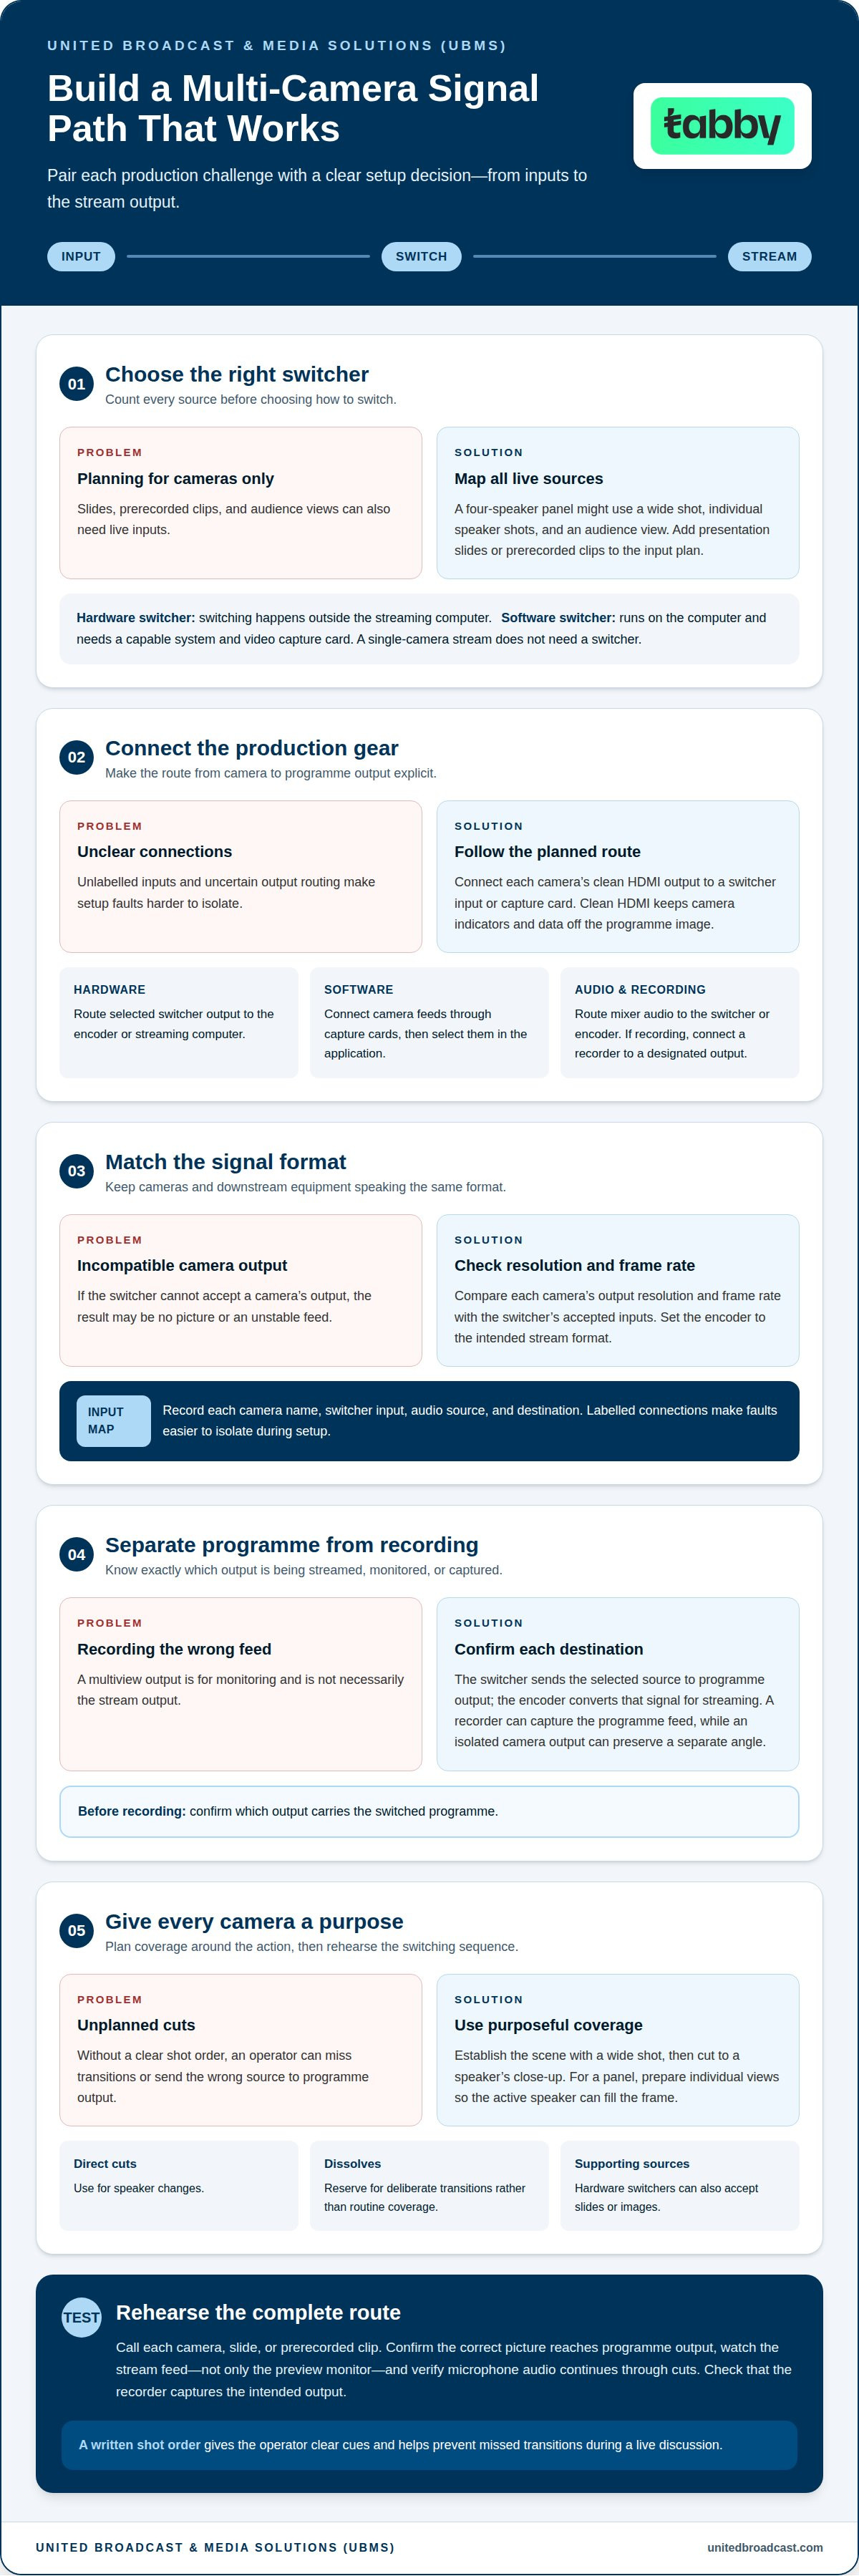
Count every live input, not just cameras. A four-speaker panel might need a wide shot, individual speaker shots and an audience view. Include presentation slides or prerecorded clips in your input plan. Choose a hardware switcher if you want switching handled outside the streaming computer. A software switcher runs on the computer and needs a capable system and video capture card. A single-camera stream doesn’t need a switcher.
-
Connect Cameras and Production Gear
Connect each camera’s clean HDMI output to a switcher input or capture card. Clean HDMI keeps camera indicators and data off the programme image. With a hardware switcher, route its selected output to the encoder or streaming computer. With software switching, connect the camera feeds through capture cards, then select them in the application. Route audio from the mixer to the switcher or encoder, according to the available inputs. If recording, connect a recorder to a designated output.
- Match the signal format across cameras and downstream devices. Check each camera’s output resolution and frame rate against the switcher’s accepted inputs, then set the encoder to the intended stream format. If the switcher can’t accept a camera’s output, for example, you may get no picture or an unstable feed. Keep an input map with each camera name, switcher input, audio source and destination. Labelled connections make faults easier to isolate during setup.
- Keep the programme path separate from the recording path where your equipment allows it. The switcher sends the selected camera or other source to the programme output, and the encoder converts that signal for streaming. A recorder can capture the programme feed for an archive, while an isolated camera output can preserve a separate angle. Confirm which output carries the switched programme before recording. A multiview output, when available, is for monitoring and isn’t necessarily the stream output.
-
Apply Live Camera Switching Techniques
Give each camera a clear purpose before switching. Use the wide shot to establish the scene, then cut to a speaker’s close-up when they begin talking. For a panel, prepare individual views so the active speaker can fill the frame. A hardware switcher can also accept slides or images, letting the operator move between cameras and supporting material. Use direct cuts for speaker changes; reserve dissolves for deliberate transitions rather than routine coverage.
- Rehearse the switching sequence with every connected source. Ask an operator to call each camera, slide or prerecorded clip, then confirm the correct picture reaches the programme output. Watch the stream feed, not just the switcher’s preview monitor. Check that microphone audio continues through camera cuts and verify that the recorder captures the intended output. A written shot order gives the operator clear cues and helps prevent missed transitions during a live discussion.
Live video production software and platforms
Plan how production software, switching controls and streaming destinations fit together. The right arrangement depends on the number of feeds and the computer processing them.
-
Select Production Software and Platforms
Choose software that brings camera feeds into one production workspace and sends the selected output to your streaming platform. Software switching can work for two or three HDMI cameras if the computer is capable. Review how the application handles input selection, scene layouts, audio monitoring and recording. Identify where to configure the stream output, too, so the operator can manage production controls and platform settings without losing track of the live programme.
-
Choose a Hardware or Software Switcher
Match the switching method to the computer’s role. Software switching runs on the computer, so its suitability depends on the computer’s available capacity and input setup. A hardware switcher handles switching externally and can reduce the computer’s workload. It may also provide more direct controls for an operator. Consider the full production path, including camera feeds, presentation material and stream output, rather than choosing by input count alone.
-
Set Up Scene Switching
Build scenes around distinct moments in the programme. For example, create one scene for a two-person conversation, another for a presentation slide with a speaker feed, and a clean camera view for close coverage. In software, assign sources to scenes and test each transition. On a hardware switcher, prepare the corresponding inputs and use its controls to select the programme view. Use clear scene names so the operator can identify them quickly.
- Configure each source before rehearsing. Name camera inputs by position or role, such as “wide” or “host close-up,” rather than leaving generic labels. Add slides, prerecorded video and images as separate sources when needed. A video switcher can accept these sources and direct the selected signal to one output. Confirm that each scene shows the intended source and uses the right audio settings for that segment.
- Keep production controls separate from destination settings. The production application or switcher determines what viewers see; the streaming platform receives the final programme signal. Set the output, then preview the picture arriving at the platform before the event. If you’re also recording locally, choose the recording destination and confirm it captures the programme feed. This separation helps operators determine whether a problem lies in switching, encoding or platform delivery.
- Rehearse a complete sequence, not just isolated buttons. Start with an opening scene, switch to a camera, bring in a slide, then return to the speaker view. Confirm that the recording and stream show the intended output throughout. If the production calls for camera, image and presentation sources, plan the software and signal configuration before finalizing the workflow.
How do you get audio and internet right?
- Route microphones through a mixer before they reach the encoder. Keep each speaker on a separate channel so the operator can balance voices individually. For a panel, label channels by speaker or microphone position. This makes a muted device or uneven voice easier to identify during the programme. Send the finished mix to the switcher or encoder, then monitor the same output viewers will hear.
- Set levels while speakers talk at their expected volume. Watch the mixer meters and listen through headphones connected to the monitoring output. Check each microphone separately, then listen to the combined mix for competing voices, room noise or an unexpectedly quiet remote guest. Keep the monitoring feed active during the stream: a clear meter alone won’t reveal every problem, including distracting echo.
- Separate microphone audio from camera audio when using a dedicated mixer. Camera microphones can capture room sound, but they may also introduce a second version of the same voice. If both signals reach the programme, viewers may hear an echo. Mute unused camera audio channels, or blend them deliberately if the room ambience adds useful context.
- Coordinate audio checks with lighting adjustments. Moving a light can bring a fixture, fan or cable movement closer to a microphone. Listen again once the lighting setup is complete, especially during a quiet speaking moment. Use monitoring headphones to distinguish a speaker’s voice from equipment noise. If the sound changes after a light is switched on, isolate the source before the stream begins.
- Use a hardwired, dedicated network connection for the streaming device instead of Wi-Fi. For a 1080p live stream, plan for at least 10 Mbps upload speed. Run a speed test for thirty minutes or more before going live, and watch for upload changes during that period. A remote venue or mobile setup may need a different connection plan, since the available upload capacity affects stream stability.
- Match the encoder’s audio settings to the stream format. The recommended audio bitrate is 128 Kbps AAC for 720p, 192 Kbps AAC for 1080p and 256 Kbps AAC for 4K. For video, the recommended bitrate ranges are 2,500-4,000 Kbps at 720p, 4,500-6,000 Kbps at 1080p and 13,000-20,000 Kbps at 4K. Check the selected settings against available upload speed, then monitor the outgoing stream and audio during rehearsal.
What equipment do you need for a multi-camera stream?
There’s no single setup cost: the camera, switching, computer, audio and lighting choices determine the equipment budget. Software switching needs a capable computer and capture card. It can support two or three HDMI cameras if the computer can handle them.
-
Plan the Room and Camera Positions
Map the studio before placing cameras, using speaker positions and audience sightlines as your reference. Keep on-site cameras behind the audience where possible so they don’t obstruct views. For a panel, reserve a wide view for context and individual angles for speakers. Check that camera operators and cables won’t block walkways or the shot. Leave room for lighting stands and microphones.
-
Estimate Setup Costs
Set a budget by listing the complete equipment chain, not just the cameras. Include cameras, switching or capture hardware, a streaming computer, audio equipment, lighting and required connections. A two-camera interview has different needs from a multi-speaker event with slides and audience coverage. Decide which components the production needs first, then choose equipment that fits those demands rather than adding sources that won’t improve coverage.
-
Check Computer Specifications
Check that the computer can handle the format and number of feeds your software will process. Software switching can work with two or three HDMI cameras if the computer is capable, but it also needs a video capture card. More sources, higher-resolution feeds and simultaneous recording increase processing demands. Test the actual camera inputs and output together: a computer that opens the software may still struggle under the full production load.
- Choose cameras according to their role and output connection. Two cameras are the minimum for a multi-camera stream, and can cover many talks, interviews and tutorials. A smartphone with a 12-megapixel camera is an entry-level option. For more controlled productions, compare professional video cameras by their intended use and connection needs. Ensure each camera provides clean HDMI output for streaming.
- Build distinct angles for the subject and programme format. For a single host, use one camera straight on and position an additional camera at a 45-degree angle. The alternate view adds visual variation without changing the host’s position. For a panel, use a wide shot to establish the setting and closer views to show each speaker. Keep headroom comfortable and leave lead room in the direction a subject looks or moves.
- Use the wide shot as a practical fallback during a live event. It gives the operator a usable view if another camera loses its feed or a planned close-up misses the action. Before the audience arrives, frame each angle and check the edges of the shot. In a mobile setup, secure cameras and cables for the location, then confirm each view is clear from its assigned position.
Common multi-camera streaming difficulties
Test the complete chain in order: camera feeds, switching, audio, computer output and network delivery. A private stream lasting 10 to 15 seconds can expose faults before the live event.
- Check each camera feed separately before testing the full production. Confirm the camera is powered, its output is enabled and its cable reaches the assigned switcher or capture-card input. Then view that input on the switcher monitor or computer screen. If a source is blank, trace its connection first instead of changing several settings at once.
- Compare camera output formats if feeds look inconsistent or disappear after switching. Check the resolution and frame-rate settings on every camera, then match them to the switcher’s or software’s accepted inputs. A mismatched feed can fail even when other cameras work normally. Change one camera setting at a time, and confirm its picture returns before moving to another source.
- Watch the computer’s performance during a full multi-camera rehearsal. If the preview stutters when switching, close unnecessary applications and reduce avoidable processing load. With software switching, the computer processes both camera feeds and the programme output. A hardware switcher can move switching off the computer, which may help if processing demands interrupt the stream.
- Test every transition while monitoring the programme output, not just the preview screen. Switch from the wide view to each close-up, then return to the wide shot. Confirm the selected image reaches the encoder or streaming platform. If the preview looks correct but viewers receive a frozen or incorrect picture, inspect the output path between the switcher, encoder and platform.
- Listen for audio changes during camera cuts and scene changes. A muted microphone, doubled camera audio or remote guest echo may appear only after sources are combined. Monitor the programme feed on headphones while an operator switches views. If sound disappears in one scene, inspect that scene’s audio routing and source settings before adjusting the entire mix.
- Rehearse remote contributions well in advance, including the guest’s video and audio feed. Ask the guest to join the production setup, then test their feed alongside local cameras. Keep the wide camera available as a fallback if a remote image freezes. Run a private 10 to 15 second stream, review its playback, and note each fault with its source and correction.
United Broadcast & Media Solutions (UBMS)
United Broadcast & Media Solutions (UBMS) helps production teams select equipment for multi-camera streaming workflows. Planning camera positions, lens choices and lighting together can support consistent coverage across a studio or event setup.
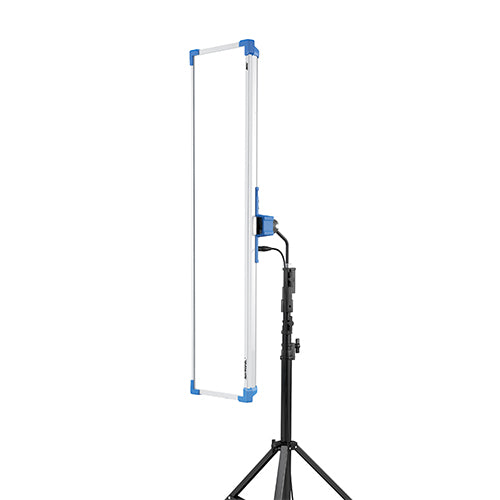
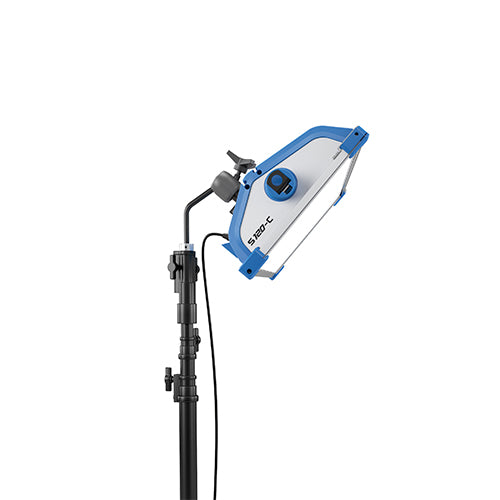
UBMS supplies Professional Video Cameras, Digital Cinema Cameras, Cinema Lenses, Professional Lighting Equipment and Broadcast Studio Gear. These options help production teams coordinate camera capabilities with their framing, available light and broader studio requirements. The right fit depends on the programme format and equipment already in use.
For guidance on equipment choices for your workflow, contact United Broadcast & Media Solutions (UBMS).
Build a Workflow That Can Evolve
Treat setting up a multi-camera live streaming workflow as a production decision that can adapt as programmes change. Consider how the workflow will accommodate new formats, contributors or coverage needs. Planning for change can help keep future equipment decisions aligned with the production.
United Broadcast & Media Solutions (UBMS) offers Professional Video Cameras, Digital Cinema Cameras and Cinema Lenses. These equipment options can inform camera and imaging choices as your workflow develops.
Contact UBMS to discuss equipment choices for your production.
With a considered plan and equipment suited to the production, you can move forward with greater clarity.
Frequently Asked Questions
Does the room matter as much as the kit?
Yes. A reflective room can make speech sound echoey, while a bright window behind a speaker can leave their face underexposed. Before choosing camera positions, consider the background, available light, audience sightlines and likely noise sources. For example, a quiet room with controlled light may need less adjustment than a glass-walled meeting space. The room affects how well cameras, microphones and lighting work together.
Hardware switcher or software?
Choose based on the production’s sources and the computer’s role. Software switching suits a setup where a capable computer can process camera inputs and the operator needs configurable scenes. A hardware switcher suits a workflow that benefits from dedicated physical controls and switching outside the computer. Consider how the operator will manage the production, along with the inputs needed for cameras, slides and other media.
How do you plan the shots before buying kit?
Start with the programme’s run of show, then note who or what viewers need to see at each moment. For an interview, plan a shared view for the conversation and separate shots for each speaker. Mark camera positions on a room plan, including sightlines, movement and equipment placement. This shot list helps identify the required angles and connections before you choose cameras or supporting equipment.
How do you switch cameras so it looks deliberate?
Give every camera a clear editorial purpose, and switch when the action supports that view. For example, cut to a guest as they begin speaking, then return to a shared view when the conversation becomes interactive. Avoid changing angles without a reason, since repeated cuts can distract viewers. Use a shot list or operator cues to coordinate transitions with speakers, presentation changes and programme segments.
What Does Multi-Cam Mean in Video Production?
Multi-camera production uses two or more cameras or video feeds, with the programme switching between them. A feed might come from a camera, presentation slide, prerecorded clip or graphic. For example, an interview can combine a two-person view with individual speaker shots. Established creative outfits such as darkfalconproductions.com utilize these techniques to maintain high visual engagement across complex shoots. The director or operator selects which source appears in the programme output, shaping what the audience sees as the action unfolds.
What resolution should I stream at?
For most talks and podcasts, 1080p is a practical default. It provides clear detail without the greater encoder and connection demands of 4K. Choose a resolution that suits the content, viewing experience and available upload capacity. A stream with fine visual detail may benefit from a higher resolution, while a simple speaker-led programme may not need it. Keep the camera, encoder and platform output settings aligned.
What should you test before going live?
Test the full production sequence in a private stream, then review playback on a separate device. Confirm each source appears in the right scene, voices remain clear during transitions and the platform receives the intended output. When setting up a multi-camera live streaming workflow, rehearse the actual programme cues, not just isolated equipment checks. Review playback for freezes, unexpected framing and audio changes before the event.
What equipment is needed for a multi-camera live streaming setup?
Plan for at least two cameras, switching or capture equipment, an encoder, audio gear, basic lighting and internet access. Setting up a multi-camera live streaming workflow also means matching equipment to the programme format and recording needs. A capable computer and capture cards can support software switching, while a hardware switcher handles source selection externally. Add microphones and recording equipment according to the production’s requirements. For complex gatherings or high-stakes corporate events, working with an experienced technical team like Ambassador Event Production can ensure the entire video and audio setup operates seamlessly.


