

High-key vs low-key lighting: how contrast shapes mood
Bright, even lighting can support a story, while deep shadows can make a scene feel focused and controlled. In film, high-key lighting is common in comedies, commercials, interviews, and news broadcasts; low-key lighting often supports drama, crime stories, and horror. High-key vs low-key lighting explained through contrast reveals how these choices shape a scene’s mood.
It’s easy to associate high-key light with cheerful images and low-key light with darker ones. But neither style is simply “bright” or “dark”: the balance between key and fill light, shadow depth, and background all affect the result. High-key vs low-key lighting explained in terms of scene intent also clarifies why brightness alone doesn’t define a style. High-key lighting aims for bright tones and soft shadows while retaining detail, rather than washing out the image.
This guide explains how contrast creates these effects, when high-key lighting is used in film, and how to choose a style that supports the scene. It also covers practical setup decisions, including soft light, fill, spill control, and preserving shadow detail.
Key Takeaways
- Read the lighting ratio and shadow detail to distinguish a deliberate high-key or low-key look from an image that is simply overexposed or underexposed.
- Control spill and ambient light to keep low-key shadows deep while preserving the details that matter in the frame.
- Use diffusion, fill, and reflectors to shape shadow softness and adjust contrast without losing the subject’s form.
- Choose the lighting style to support the scene’s emotional intent, since a bright look can work against somber material and deep shadows can redirect attention.
- Match the light’s direction and background treatment to the image you want, rather than relying on brightness alone.
How high-key and low-key lighting differ in contrast and mood
High-key lighting uses a bright, even exposure and soft shadows; low-key lighting places more of the image in shadow, creating stronger contrast. Common mistakes include overexposing high-key highlights until detail disappears, or underexposing low-key areas until important subject details merge into darkness.
Contrast and Exposure Differences
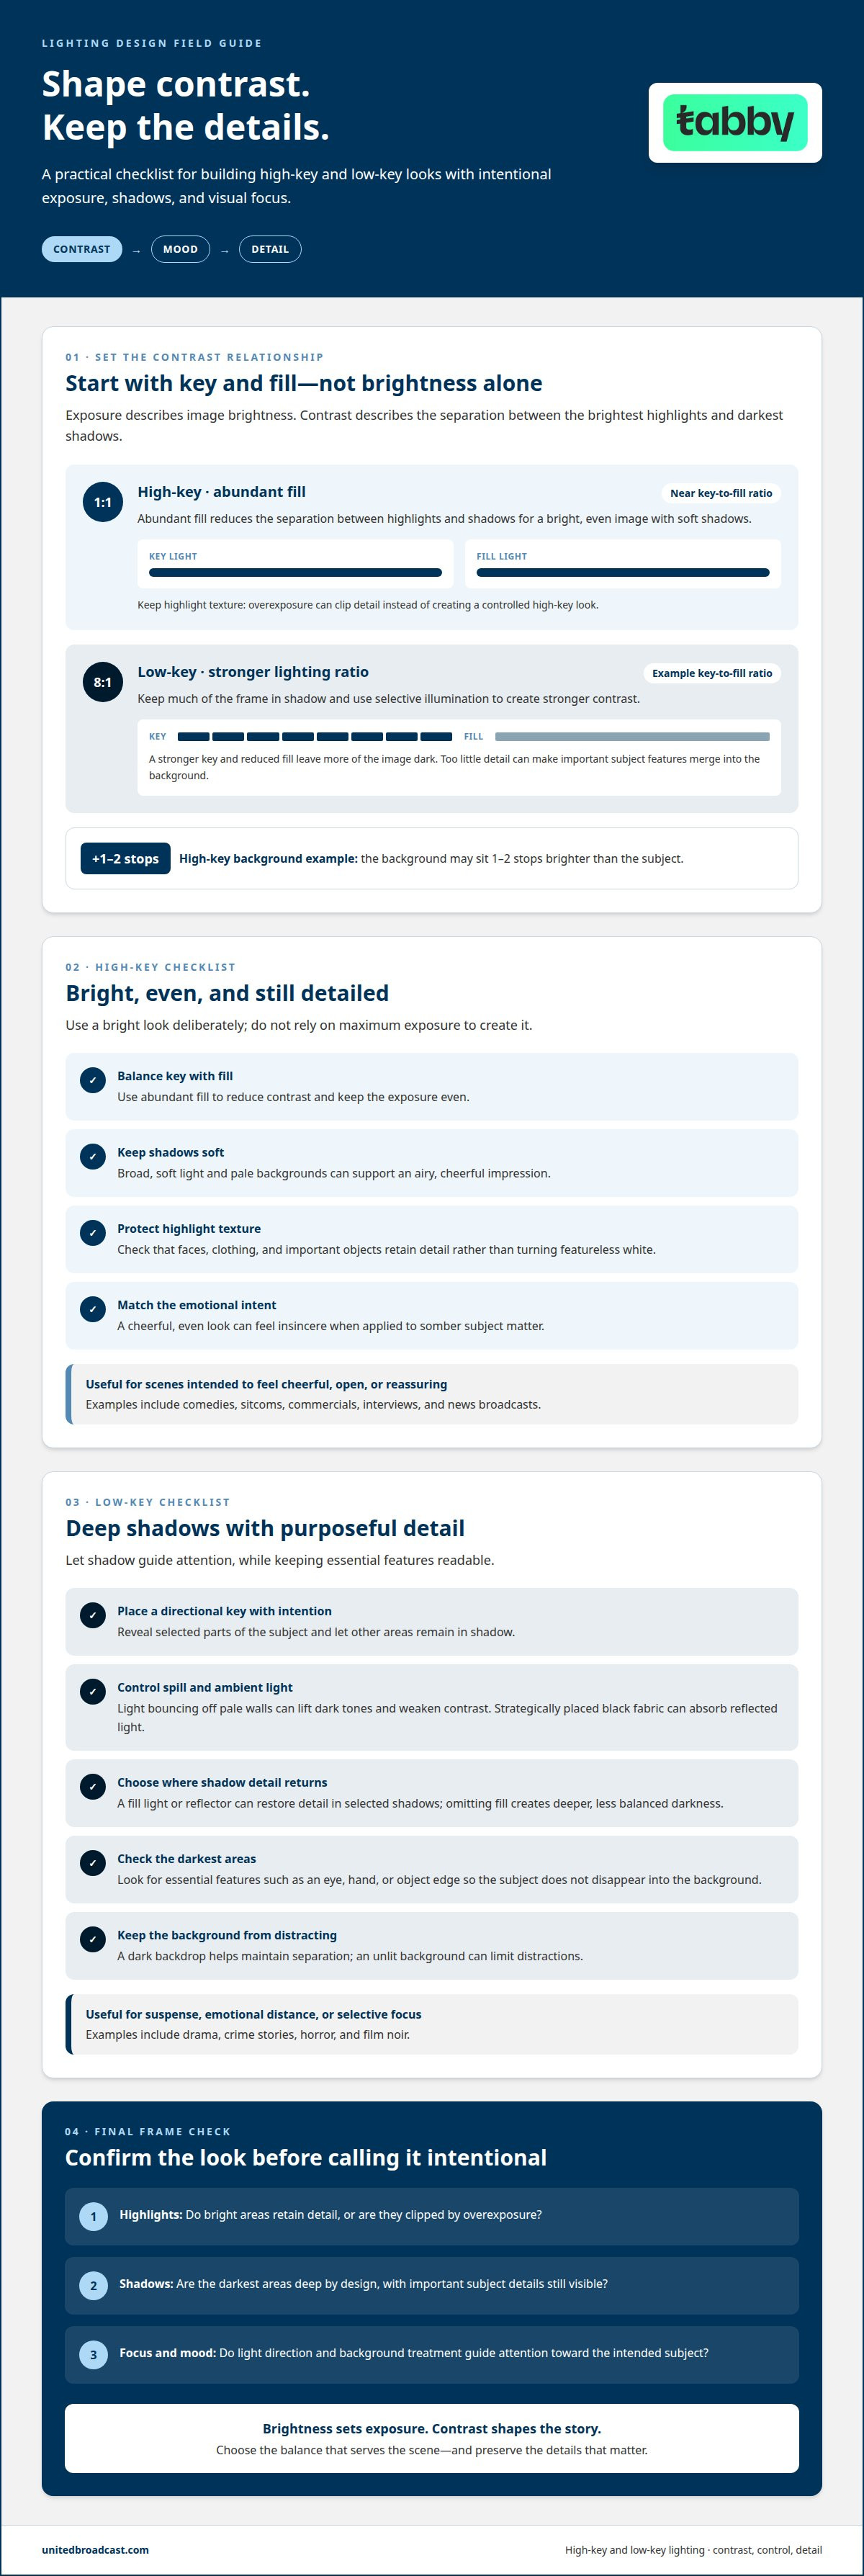
Exposure describes image brightness, while contrast describes the separation between its brightest highlights and darkest shadows. In high-key photography, abundant fill light reduces that separation, and a near 1:1 key-to-fill ratio keeps the image even. The bright look still needs detail: accidental overexposure clips highlights instead of creating a controlled style. Low-key images reverse the balance, using a stronger lighting ratio and leaving much of the frame dark.
For example, a high-key background may sit 1-2 stops brighter than the subject, while a low-key scene can use an 8:1 key-to-fill ratio. These relationships help shape the image more precisely than simply raising or lowering camera exposure. Check whether faces, clothing, and important objects retain detail before deciding that the contrast serves the scene.
Lighting’s Effect on Tone and Focus
Lighting shapes a scene’s tone by directing the audience’s attention and separating the subject from the surroundings. A soft, bright setup can make a sitcom conversation feel open and approachable. A narrow beam across one character’s face can isolate them, while an unlit background limits distractions. Light direction guides attention as well as mood.
Film noir often uses deep shadows to suggest secrecy, danger, or uncertainty. By contrast, even lighting in an interview can make expressions and surroundings easier to read. Backlight can separate a subject from the background, while fill light softens facial shadows. Choosing the right combination gives the scene a clear visual focus.
Distinct Moods in Photography
High-key photography often combines broad, soft light with pale backgrounds for an airy, cheerful impression. Beauty portraits and upbeat commercial images use this approach to keep facial features and product details visible. A bright histogram alone doesn’t mean the setup is successful: highlights should retain texture instead of turning featureless white. The mood comes from controlled brightness, not maximum exposure.
Low-key photography uses dark tones and selective illumination to create a serious, dramatic, or isolated mood. Lighting one side of a portrait subject’s face can feel introspective, while the shadowed side adds tension. Film noir portraits use this contrast to emphasize shape and expression. Keep essential details readable so the dark frame still feels intentional.
Mood and Storytelling Uses
High-key lighting suits scenes intended to feel cheerful, open, or reassuring, including comedies, sitcoms, and commercial work. It can also create a mismatch: a bright, cheerful look may feel insincere when applied to somber subject matter. Consider the scene’s purpose before choosing an even, low-shadow image. The decision influences how viewers interpret both the setting and its people.
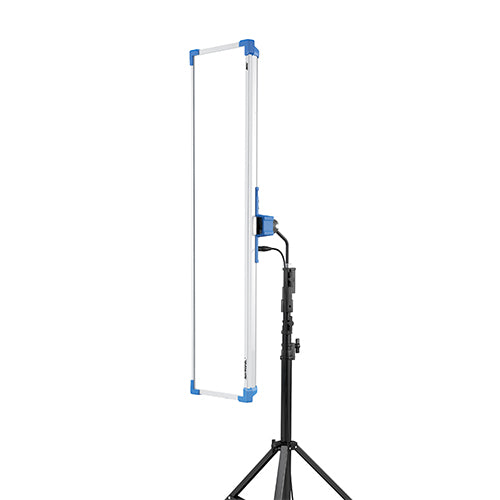
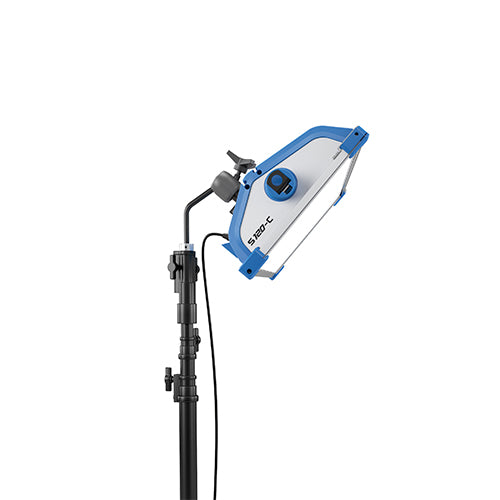
Low-key light can strengthen suspense or emotional distance in a drama, crime story, or horror scene. For example, leaving a character’s surroundings dark can make a quiet conversation feel threatening without changing its dialogue. Spill control matters because light bouncing off pale walls can weaken dark backgrounds. Selective, controlled lighting tools can support this contrast; lighting equipment for controlled contrast is relevant when shaping the scene’s visual style.
Low-key lighting, contrast, shadows, and dark tones
In low-key images, most of the frame stays dark while selected areas receive controlled light. The light’s placement and softness determine whether shadows preserve useful detail or conceal the subject.
Low-Key Shadows and Dark Tones
Low-key lighting uses a directional key to reveal part of a subject and leave other areas in shadow. This contrast gives viewers a clear visual path, such as a narrow highlight across a face against a dark background. A dark backdrop helps maintain separation, since pale walls can reflect light back into the scene.
Control ambient light as well as the key. Unwanted spill can lift dark tones and weaken contrast; strategically placed black fabric can absorb reflected light. A fill light or reflector can restore detail in selected shadows, while omitting fill creates deeper, less balanced darkness. Decide based on which details viewers need to see.
Underexposure is a common risk: lost shadow detail can make a subject blend into the background. Check the darkest areas on the camera display for essential features, such as an eye, hand, or object edge. A single side light can create a defined split across a portrait, while a reflector adds detail without illuminating the entire set.
Chiaroscuro and Dramatic Shadows
Chiaroscuro describes strong contrast between light and dark, using shadows to define form and create depth. In a low-key portrait, a lit cheek against the shadowed side can emphasize facial structure. This approach suits frames intended to feel tense or reveal only selected information.
A classic film noir image might use a narrow beam across a character’s eyes, leaving the rest of the face subdued. Shadow becomes part of the composition, not merely an absence of light. Keep its edge and position intentional: moving the key changes which features emerge and how viewers read the expression.
High-key images handle shadows differently. Large light sources, softboxes, silks, and diffusion soften shadow edges; a white reflector or card can bounce light into darker areas. These tools suit portraits where gentle transitions across the face matter more than dramatic separation. A smaller source creates harder shadows, so source size and distance help shape the image’s texture.
For a low-key setup, limit ambient light and direct the key away from the background. Natural light can work, but it requires close control of the room or environment. A darkened room with one window can create a portrait with a defined shadow pattern. For productions selecting equipment for this kind of control, discuss professional lighting equipment.
What is high key lighting in film used for?
High-key lighting gives film scenes a bright, even appearance with restrained shadows. Productions use it when faces, expressions, and set details need to remain easy to read.
High-Key Lighting in Film
Comedies, sitcoms, children’s shows, interviews, and news broadcasts commonly use high-key lighting. Its open, cheerful quality can support light subject matter or direct, informative presentations. Food and beauty commercials also benefit when viewers need to see textures and product details clearly. The style is deliberate: bright highlights should retain detail rather than become featureless white.
A three-point setup uses a key light, fill light, and back light. The key shapes the subject, fill softens its shadows, and back light separates the subject from the background. For high-key video, placing sources about 30 degrees out from the camera can preserve dimension without creating harsh shadows. This avoids the flat look of lighting directly from the lens.
High-key scenes often use pale backgrounds, which reflect light and help create an even frame. A portrait can use one source on the subject and a brighter source on the background. The background may be exposed to 250-255 for clean white, while retaining detail on the subject. In some setups, it sits 1-2 stops brighter than the subject.
Directional Light and Spill Control
Low-key scenes call for a different approach: direct a key light at a specific part of the subject, then limit light reaching the background. A narrow source can reveal a face, hand, or object while leaving the surrounding areas dark. This selective exposure draws attention without brightening the entire frame.
Ambient light and reflected spill can weaken the effect. For example, light bouncing off a pale wall may brighten the background and reduce contrast. Dark surfaces and carefully placed black fabric help control reflections. Add a fill light or reflector when shadow detail matters, but direct it only where needed.
Chiaroscuro uses distinct areas of light and shadow to shape form and create dramatic contrast. A production might light one side of a character’s face and leave the other subdued, making the expression feel guarded. The key’s angle and beam width determine where the division falls. Adjusting either changes what viewers notice first.
Choose the approach according to the scene’s purpose. Use high-key lighting for an upbeat commercial or interview that needs an open, readable image. Use directional low-key lighting when a crime scene calls for selective detail and a darker atmosphere. In either setup, check highlights and shadow detail on the camera display before recording the final take.
Soft light, diffusion, and fill
Softness describes how gradually a shadow transitions from light to dark. In a portrait, a large source close to the subject creates softer edges than a small, distant source. Diffusion spreads light across a larger apparent area, while fill light reduces shadows from the key. These techniques shape texture and contrast without changing the scene’s basic composition.
The key light is the primary source that gives the subject form and dimension. The fill light is secondary, placed to reduce shadows without competing with the key. A light meter can measure their relative strengths, called the lighting ratio. For a bright, even image, a near 1:1 key-to-fill ratio limits contrast between the lit and shadowed sides.
The lighting ratio alone doesn’t determine softness. A large softbox, silk, or diffusion material creates more gradual shadows, while a smaller source produces harder edges. A white reflector or card can bounce key light into the shadow side without another powered fixture. For a portrait, move the reflector closer to strengthen its effect, then reposition it to preserve the desired facial shape.
In a high-key setup, keep the shadow side about half to one stop below the key. This preserves some facial modelling while maintaining a bright appearance. If fill matches or exceeds the key, facial features may lose dimension. If fill is much lower, shadows become more pronounced and the image shifts away from an even, low-contrast look.
A low-key setup can use an 8:1 key-to-fill ratio, producing a much deeper shadow side. This is a useful reference for dramatic contrast, not a fixed requirement for every shot. A reflector can selectively lift details, such as an eye or dark clothing, while preserving the overall shadow pattern. A light meter helps compare key and fill, but the camera image shows whether details remain visible.
For consistent results, assess the light’s size, diffusion, and direction together. A large, diffused key near the subject creates broad, soft transitions; a small, bare source creates sharper shadows. Then adjust fill until the shadow detail suits the scene. In a multi-camera production, keep source positions and ratios consistent across angles to maintain coherent lighting.
Choosing a lighting style to match a scene
Choose lighting by asking what viewers should feel and notice in each scene. An upbeat commercial may benefit from an even, bright image, while a crime drama may call for selective illumination and heavier shadows. Treat high-key versus low-key lighting as a creative decision, not a fixed recipe: the style should support the scene’s emotional intent. High-key light can feel out of place when its cheerful appearance conflicts with somber subject matter.
Consider the subject’s role and the information the frame needs to convey. In a training video, viewers may need to read an instructor’s expression and follow a demonstration. Even lighting can keep both visible. In a tense drama, a character partly hidden by shadow may communicate uncertainty or isolation. The high-key versus low-key distinction becomes useful when deciding what viewers should notice first.
Next, assess the setting. Available light means using natural daylight, so outdoor scenes depend on the time of day and weather. Indoors, daylight from large windows can reach farther into a bright room. This can ground a real-world story, but changing daylight may affect continuity between takes. Set white balance and exposure for the scene rather than relying only on the camera meter.
A camera meter aims to render a scene as middle grey. A bright, pale setup may need positive exposure compensation, while a dark composition may need negative compensation. Use the histogram as a reference: high-key image data generally gathers toward the right, and low-key data toward the left. Check the captured image for retained highlight and shadow detail, especially when wardrobe or set pieces have similar tones.
Lighting can also connect a scene’s style to its setting. Motivated lighting uses a source that exists naturally in the scene, such as a window or visible lamp. A window can plausibly light a daytime conversation; a practical lamp can motivate a pool of light in a darker room. Matching the source’s direction and quality helps the scene feel consistent with its environment.
Use these points to compare lighting techniques before settling on a look:
- For openness: Choose an even approach for an interview, sitcom, or upbeat product scene.
- For tension: Use selective illumination when a drama should conceal part of a character or setting.
- For realism: Shape available daylight around the location and maintain consistent exposure between shots.
- For emotional contrast: Let a purposeful mismatch serve the story rather than contradict it unintentionally.
Review lighting in context, not as an isolated frame. A bright close-up may suit a comedy but weaken a sombre moment. Compare connected scenes across changes in location and time of day. Consistent choices help viewers follow the story, while a deliberate change can signal a shift in mood or perspective. This scene-first approach ties technical decisions to the intended audience response.
United Broadcast & Media Solutions (UBMS): Professional Lighting Equipment
United Broadcast & Media Solutions (UBMS) offers Professional Lighting Equipment for productions using soft fill, controlled shadows, or brighter, more even illumination. Once you have defined the lighting approach, the equipment can support its execution. Professional Video Cameras, Digital Cinema Cameras, and Cinema Lenses can also form part of the production’s imaging setup.
Consider the scene’s contrast, subject placement, and background when selecting equipment for a high-key or low-key look. These choices help determine the lighting approach and the camera setup needed to capture it. For guidance on equipment suited to your production, contact United Broadcast & Media Solutions (UBMS).
Make your next lighting choice intentional
Now that high-key versus low-key lighting is explained, treat the distinction as a creative decision, not a fixed recipe. Start with the scene’s emotional direction, then consider what the audience needs to notice and what can remain less visible. A look that supports one moment may undermine another, so make lighting continuity part of the story’s visual design.
As you plan a production, connect the lighting approach to the full imaging setup. United Broadcast & Media Solutions (UBMS) offers Professional Video Cameras, Digital Cinema Cameras, and Cinema Lenses alongside Professional Lighting Equipment. These categories are relevant when selecting equipment for a production built around a particular visual style.
Give the next scene a clear visual intention, then choose equipment to support it. A deliberate approach helps every lighting decision serve the frame and the story.
Frequently Asked Questions
Can I create these looks in editing?
Yes, editing can strengthen either look, but it can’t fully replace on-set lighting decisions. Adjust exposure and contrast to refine tonal separation, then check whether important details remain visible. Darkening a bright frame, for example, may deepen shadows but won’t recreate the natural falloff of a directional key. If highlights are clipped or shadows contain no recorded detail, post-production has limited information to restore.
Is high key just an overexposed photo?
No. High-key photography is a deliberate bright style that retains detail in light areas; accidental overexposure loses that information. A white shirt, for example, should still show its folds rather than becoming a blank patch. Check bright surfaces and facial highlights in the captured image. Exposure compensation can help prevent a camera meter from rendering a pale scene too grey, but the aim is controlled brightness and visible texture.
What background suits each style?
A white or pale background commonly supports high-key lighting by reflecting light and helping the frame appear bright. A black or dark background suits low-key scenes, where keeping light off the backdrop helps it stay dark. Consider the room itself: a light-coloured wall can bounce light into shadows and reduce low-key contrast. In a high-key portrait, lighting the background separately can help create an even, clean backdrop.
Which is easier for beginners?
Low-key lighting can be a simpler starting point because it can use one controlled light source in a darkened room. A single window in a dark room can provide directional light for a portrait. High-key work usually requires more light and careful balance across the subject and background. Whichever approach you try, keep essential details visible and assess the result in the camera image.
What is high-key lighting in photography and film?
High-key lighting is a deliberately bright style with low visual contrast and restrained shadows. In photography, it can make a beauty portrait feel open and clean while preserving detail in skin and clothing. In film, it can support an upbeat commercial or an interview where facial expressions need to read clearly. Brightness alone isn’t enough: intentional lighting and controlled exposure define the style.
What is low-key lighting in photography and film?
Low-key lighting leaves much of the image dark and uses selective illumination to reveal chosen details. A portrait might show one side of a face while keeping the background subdued. In film, this can create suspense or emotional distance by limiting what viewers see. Keep key features legible; otherwise, dark areas may merge with the subject instead of shaping it.
What are the main differences between high-key and low-key lighting?
The main difference is how each style distributes light and shadow across the frame. High-key images keep tones bright and shadows subtle; low-key images retain more dark areas and stronger tonal separation. A cheerful studio interview and a tense, partially lit character portrait show how contrast changes the mood. Compare shadow detail on the subject and background brightness, not just overall exposure, to identify the intended style.
What lighting setups create a high-key look?
A three-point setup uses a key light, fill light, and backlight, with broad, soft sources helping reduce harsh shadows. High-key arrangements often use three to five lights, depending on the subject and background. A white reflector can bounce light into shadows, while a separate source brightens a pale backdrop. Place the key off camera to preserve facial dimension, then balance the fill so the image stays even without looking flat.


